Home Decor
HOW TO HANG A GALLERY WALL IN A COUPLE SIMPLE STEPS
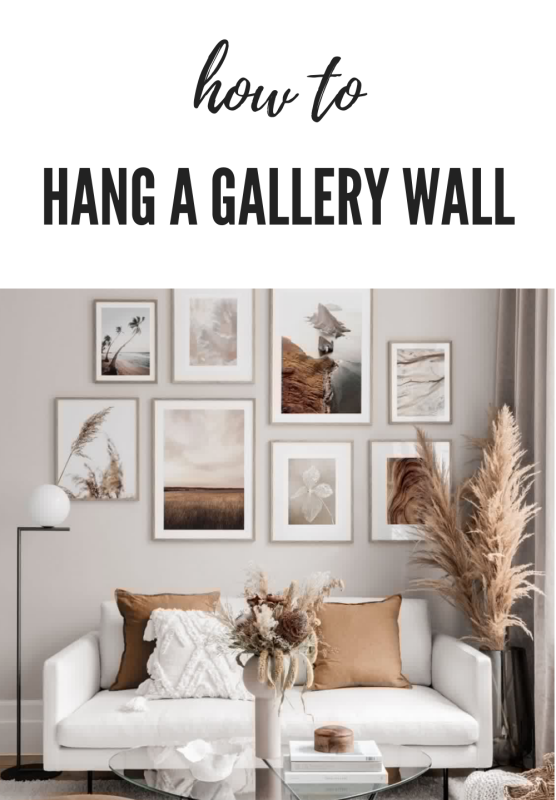
When it comes to your walls there is no easier way to amp up your own personal decor style than with the addition of a gallery wall (or two). Installing a gallery is a lot simpler than you would think, but if you’re like many and find the thought of arranging and hanging multiple frames daunting and intimidating, then I am going to break the process down into some simple tips and tricks for you.
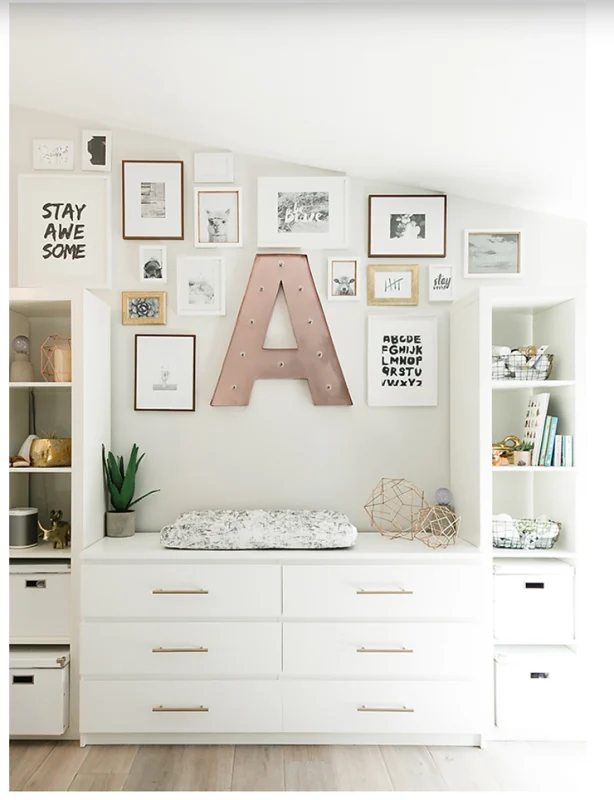
Decide on a Gallery Subject Matter – Do you want to simply create a gallery of family photographs or include art/artifacts? It’s often nice to mix-n-match art in combination with photography in order to add contrast and break up a large spread of photos.
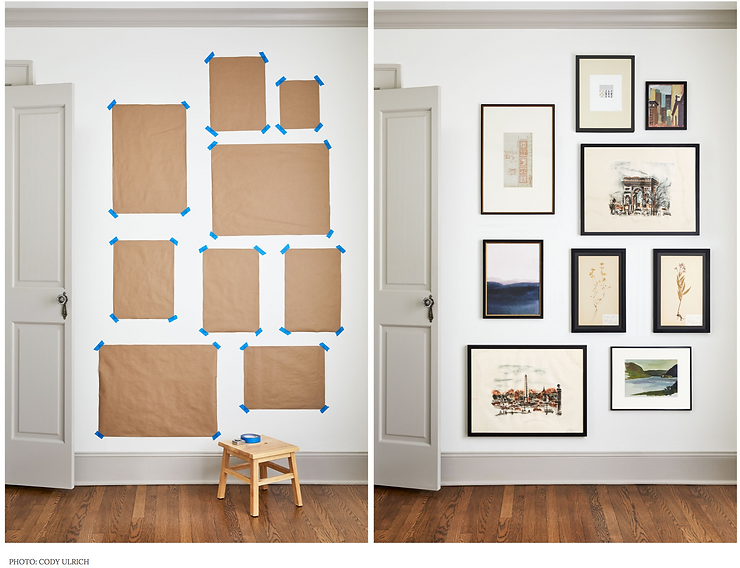
Ready to plot your plan? – This technique for planning your arrangement avoids hammering unnecessary holes into the wall.
Using a roll of kraft or wrapping paper, trace the outline of each piece you plan to hang and cut out to create paper templates. Measure (side to side and top to bottom) the placement of the hanger on the back of each frame. Mark the front of the corresponding paper template with the hanger location. For an item with a hanging wire, measure with the wire stretched tight toward the top of the item, as if the wire were holding the weight. On a flat surface (I typically use the floor), lay out the paper templates until you land on an arrangement you like. Following the layout you just created, use painters tape to attach the templates to the wall. Keep rearranging the templates until you love it, then drive nails through the paper at the marked spot for the hanger. Remove the paper, and hang each item. If you are planning to hang your gallery wall in a grid arrangement, it helps to use a ruler, tape measure, or level when placing templates to make sure everything lines up perfectly.
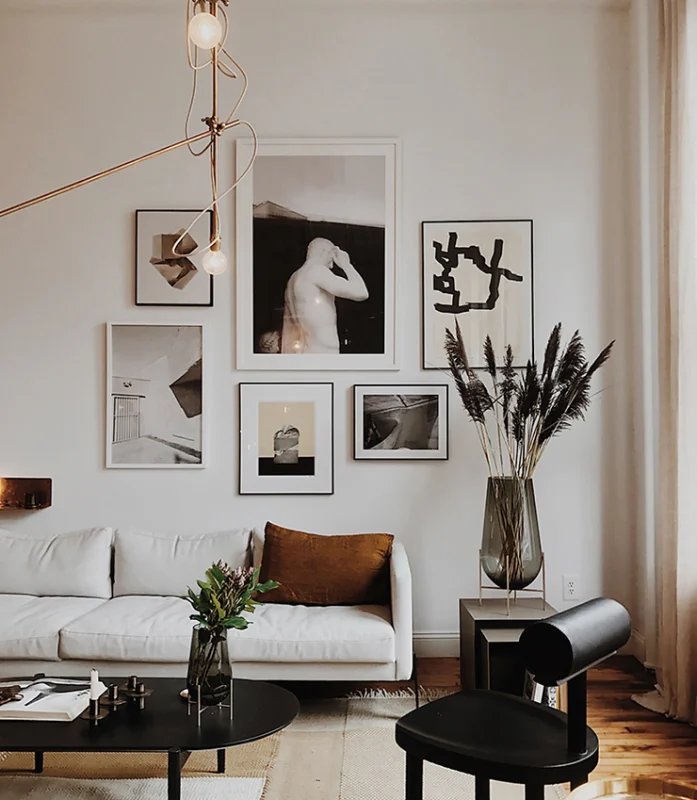
Vary the Size, Texture and Tone – Unless installing a grid, it is best to vary the look of the frames as opposed to making them all match. This could mean mixing and matching different finishes, colors, frame sizes and profiles. If you choose to stick to one color, you may want to add interest by mixing different profiles and finishes, such as glossy vs. matte or smooth vs. textured.
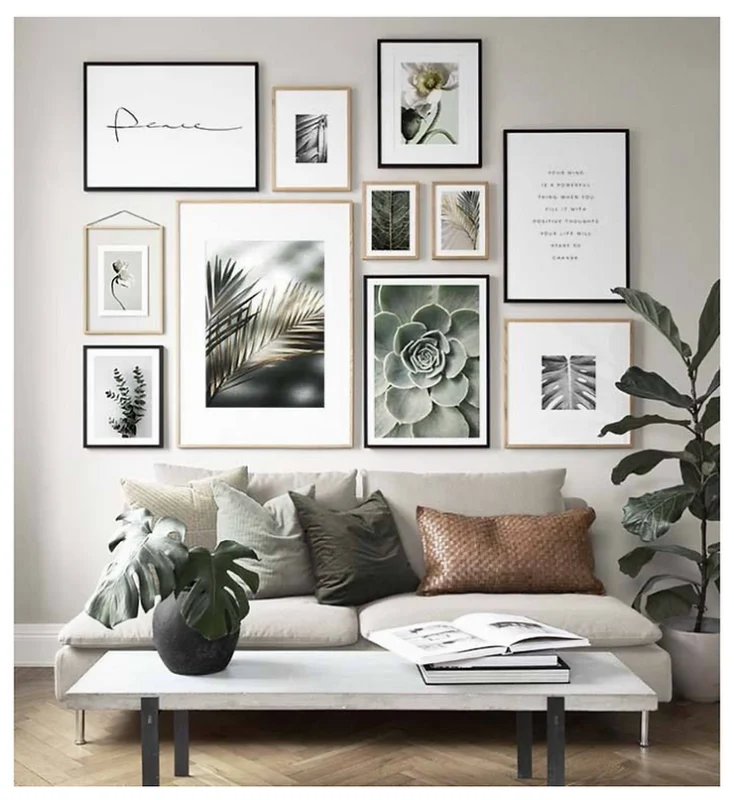
Cheat When You Can – Okay it’s not really cheating so much as it is saving time, and when you are a busy mom you need to get things done as efficiently as possible. So hit up your nearest hardware store and purchase 3M picture hanging strips! Not only will you avoidable multiple holes in the wall, but they are re-positionable, which means you can straighten after the fact.
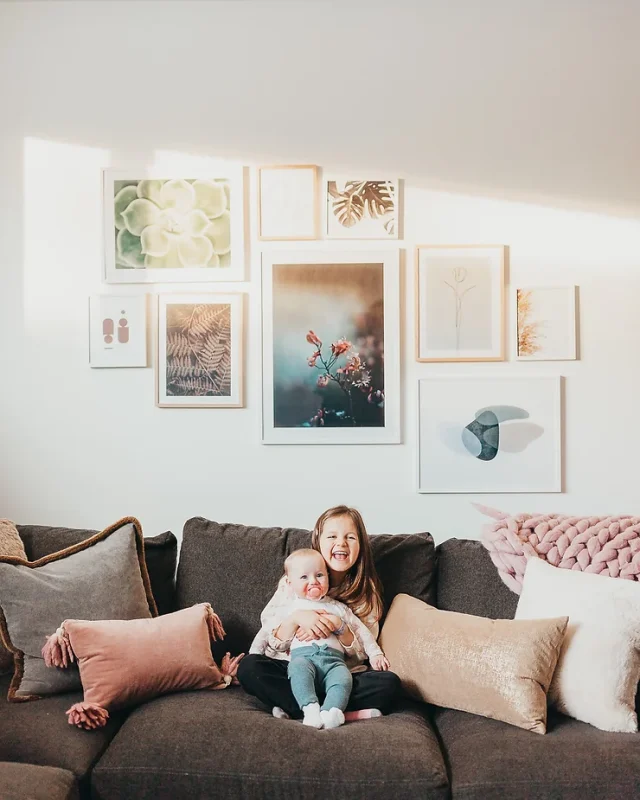
Go With Your Gut – There isn’t necessarily an art to hanging gallery walls, you just have to go with your gut. Forget about measuring distances between frames and go with what feels right, knowing that it’s okay to vary from frame-to-frame. Unless installing a grid wall, you should not feel limited to a specific spacing. Realistically, the more variation you have in terms of spacing and frame size, the easier your installation will be and you’ll end up with a more unique finished product.
